


 |
| via This Time Tomorrow |
I love transparent clutches. They may not be the most practical thing when it comes to an everyday
bag (especially if you don't want people to see what you have in your clutch), however I think that
if styled right they can be the perfect accessory for a fall outfit. I found this amazing tutorial over at
A Pair and Spare and I thought that I should share it with you.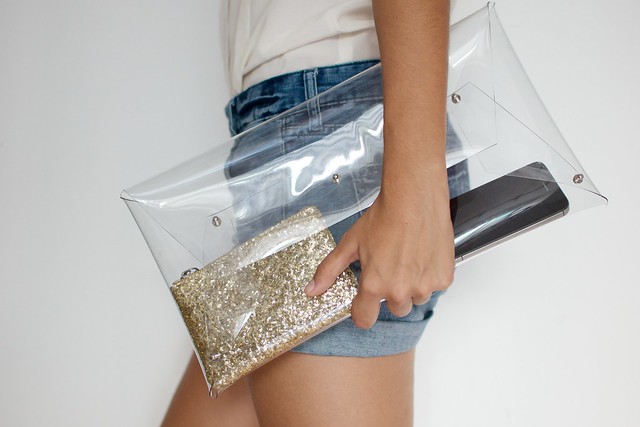
You need:
- A big rectangle of clear PVC. Mine was around 3mm thick
- 5 round top studs with screws
- A pen
- Scissors
- Multi hole punch
- A ruler
- An A1 piece of white paper or cardboard

How to
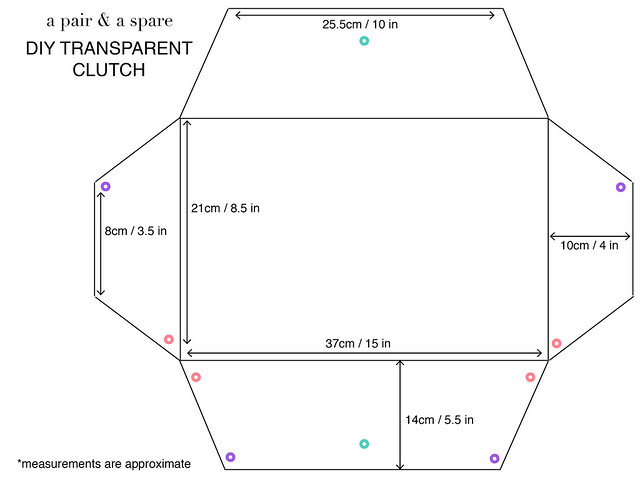
1. Draw the template onto your paper - following the measurements you see below. Click here for a bigger version. Note that the image itself is indicative and not to scale. The measurements are approximate because I think you can make it a little bigger or smaller or give it a different shape if you want, it's just about trimming it to suit you, but this template will give you the general structure.
2. Cut your template out and then use some tape to stick it on your pvc.
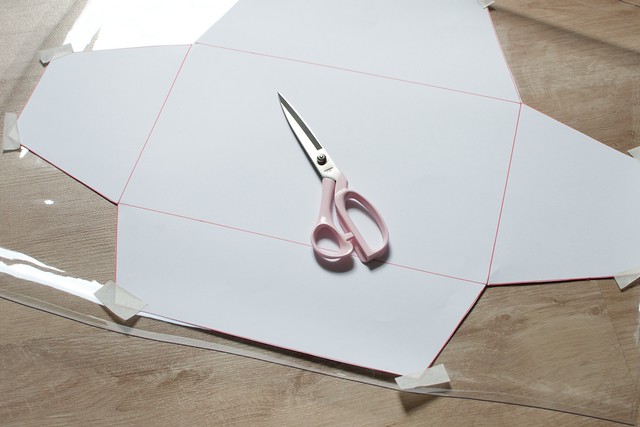
3. Cut your pvc, using the template as a guide.

4. Remove the template from the pvc.

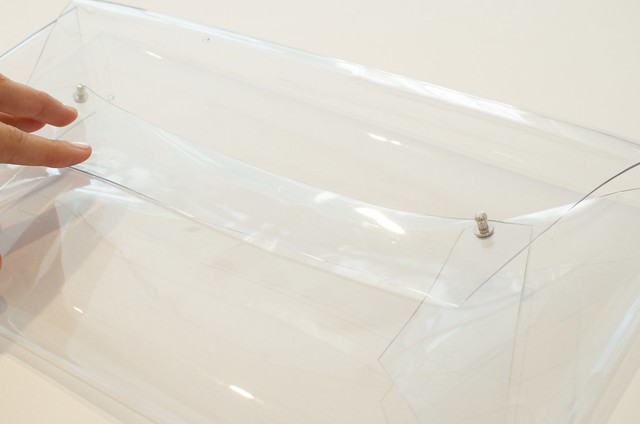
5. Fold the corners over like an envelope, folding the sides in first, then the bottom, and then lastly the top flap.

6. Decide where you want to put your stud beads to secure the envelope shape. I have put little coloured circles on the template to give you an idea of where the holes should go for the studs. Use the hole puncher to make holes relative to the size of the screw in the stud bead.

7. Push the screw through from the underneath and then screw the top on.

8. For the lower holes, make the top hole first and then mark with a pen the inside hole. Open up the bag to make the inside hole.

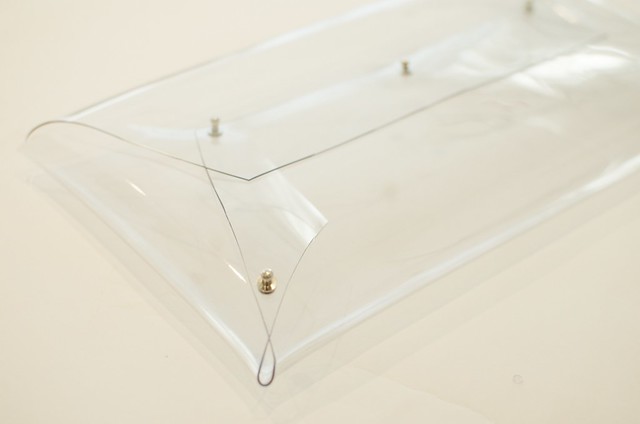
9. Once all the holes are done - close the bag to work out where to put the stud that will act as a latch.
10. Mark with a pen and then use the hole punch to put a hole in the underside of the opening. Thread the stud bead through the single underneath layer, and then put another hole in the flap to be used to secure the opening by pushing the hole over the stud.

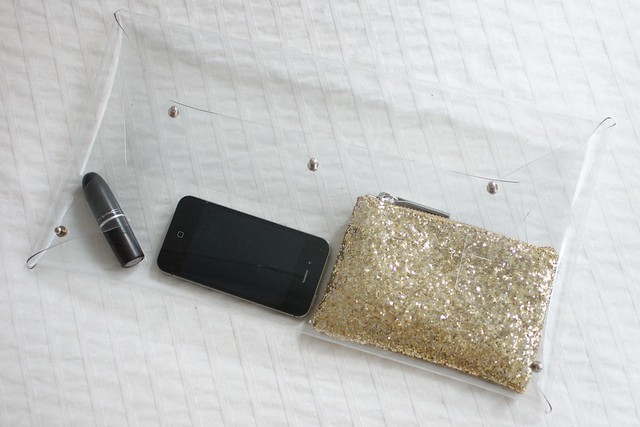
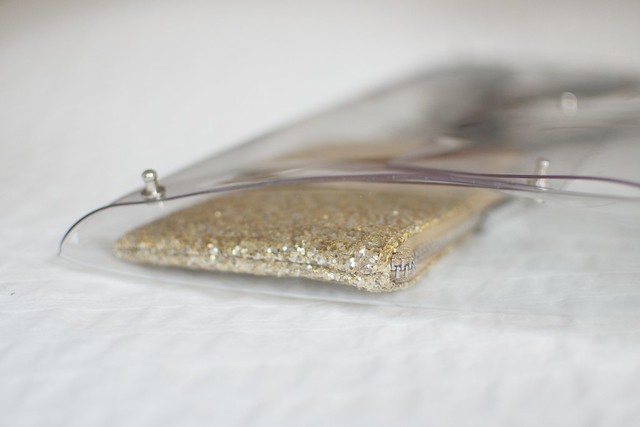
Voila! Put a glitter or leopard print purse inside to hold all your bits and pieces.


This is a really great DIY! I love transparent clutches.
ReplyDeletexoxo
CoverGirl + Converse
This is amazing! Where did you buy the PVC from? I can't find a decent one anywhere? Please help! Love your blog! would you mind checking mine out? I've just started it xx
ReplyDeletewww.studded-t-rex.blogspot.com